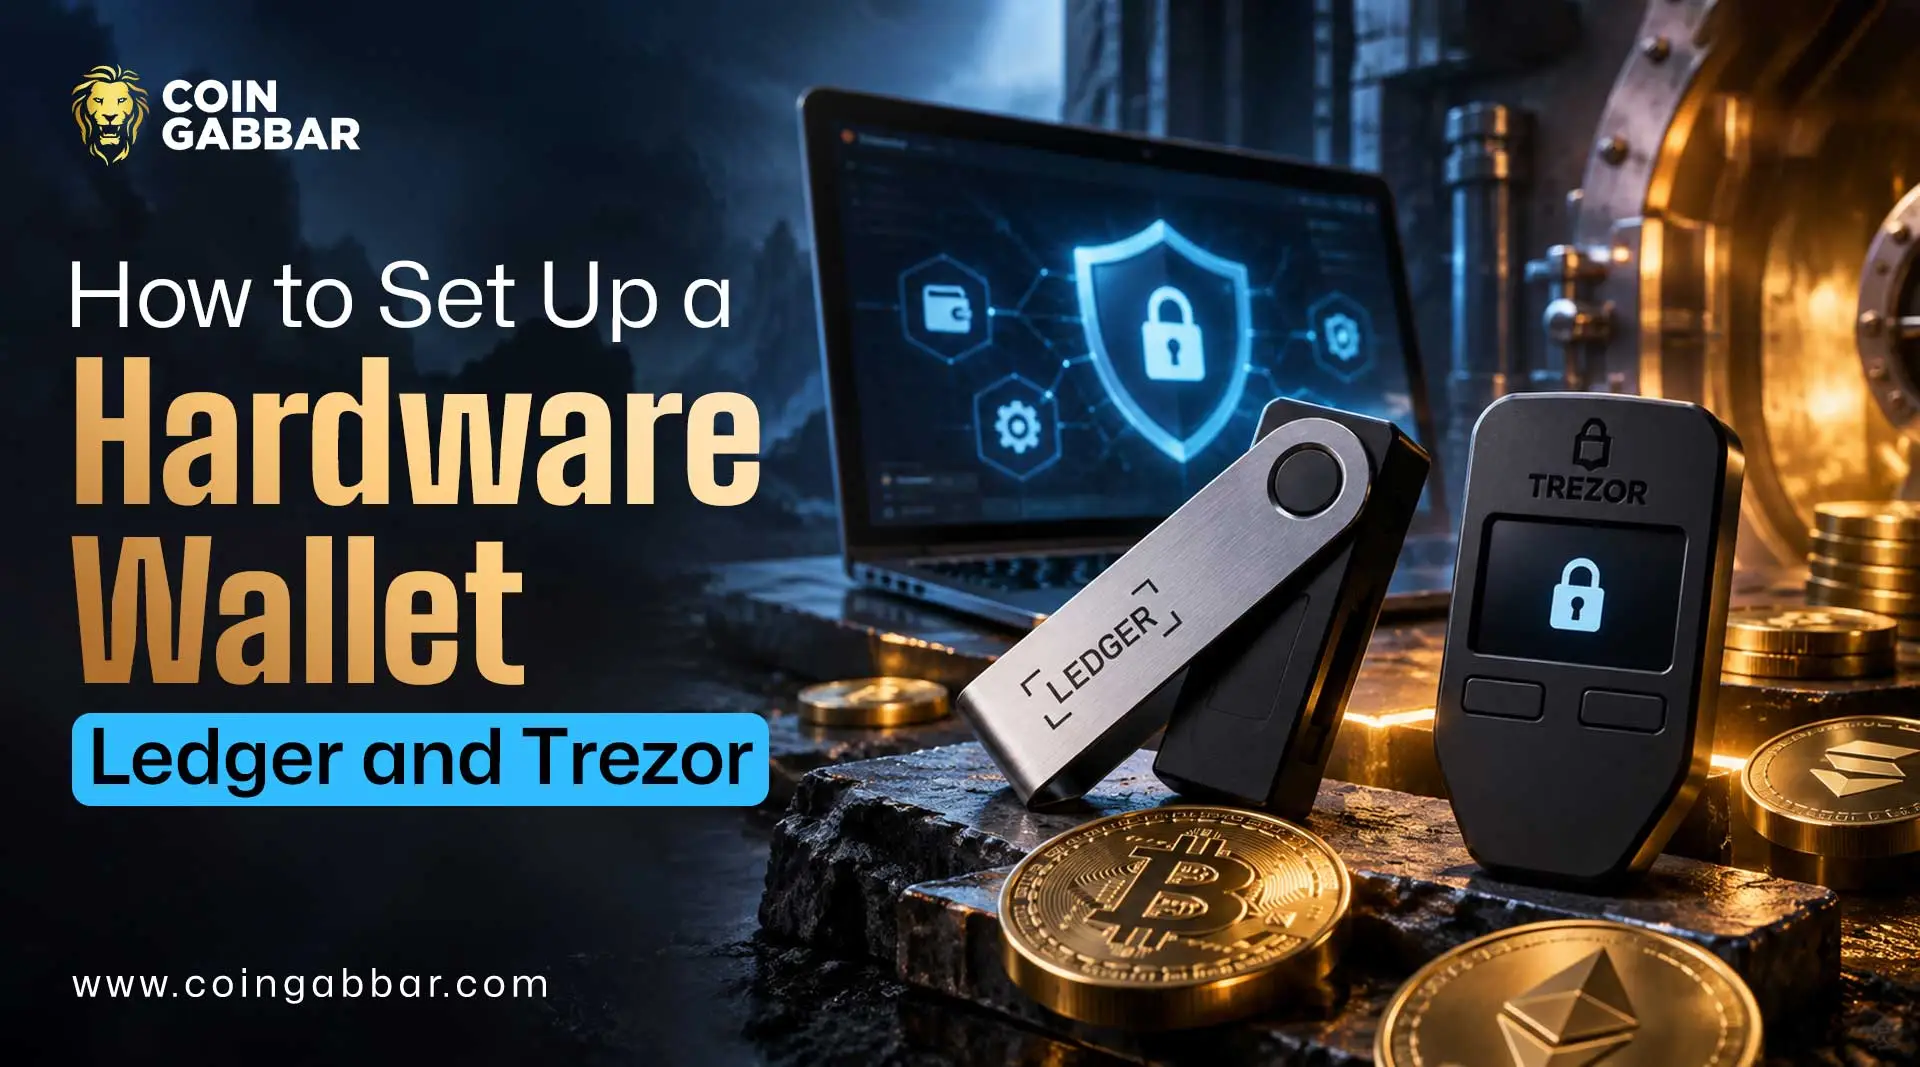
How to Set Up a Hardware Wallet: Ledger and Trezor Guide

Why Secure Hardware Wallet Setup Matters
Most people who lose crypto don't get hacked in some dramatic way. They leave their coins on an exchange, or they mess up a basic setup step.
That's why so many readers search for how to set up a hardware wallet before making their first big purchase or moving funds off an exchange.
A hardware wallet is a small physical device that stores your private keys offline. It signs transactions without ever exposing those keys to the internet.
This guide walks through the actual setup process for both major brands, Ledger and Trezor. You'll learn what to check before you start, how the first-time setup works, and which mistakes cause the most losses.
What Is a Hardware Wallet and How Does It Work?
A hardware wallet is not where your coins physically live. Your crypto always sits on the blockchain itself.
What the device stores is your private key, the secret code that proves ownership and lets you approve transactions.
Software wallets keep that key on a phone or computer connected to the internet. A hardware wallet keeps it on a separate chip, isolated from your browser, your apps, and any malware that might be sitting on your machine.
When you send crypto, the transaction details go to the device. You review them on its screen, then approve with a physical button or touchscreen tap. The signed transaction leaves the device; the key never does.
What to Check Before Setting Up a Hardware Wallet
Both brands sell several models at different price points. Before buying, it helps to compare what each product line actually offers.
Feature | Ledger | Trezor |
Companion app | Ledger's official desktop and mobile app | Trezor Suite (desktop or web) |
Interface | Button or touchscreen depending on model | Button (Model One) or touchscreen (newer models) |
Backup format | 24-word recovery phrase | 12, 20, or 24-word wallet backup |
Bluetooth option | Available on select models | Not offered |
Open-source firmware | Partially open-source | Fully open-source on most models |
Neither company is objectively "better" for every use case. Bluetooth convenience, screen size, and open-source preference are the real deciding factors, not brand loyalty.
Whatever you pick, buy directly from the manufacturer or a listed authorized reseller. A hardware wallet bought secondhand or from an unverified marketplace listing carries real risk of tampering.
How to Set Up a Ledger Hardware Wallet
Buy from an official source. Check the box seal is intact before opening it.
Download the official companion app only from the manufacturer's real website. Never use a link from an email, ad, or search result you haven't verified letter by letter.
Power on the device and select "Set up as new device."
Choose a PIN. Pick something you'll remember, since several wrong attempts wipe the device.
Write down the 24-word recovery phrase the device displays, one word at a time.
Confirm several words back to the device when it asks, to verify your written backup matches.
Open the companion app and install the apps for each crypto asset you plan to hold.
Add an account, then test it with a small deposit before moving larger amounts.
The stated setup time is roughly 15 to 20 minutes for a first-time user, according to the manufacturer's own onboarding material. That figure can vary depending on how many assets you configure.
How to Set Up a Trezor Hardware Wallet
Go to the official setup page and download Trezor Suite for desktop, or use the web version.
Connect the device with the supplied cable. Since it ships without firmware, Suite will prompt you to install the latest signed firmware.
Suite runs an authenticity check on the device. Do not continue if this check fails.
Choose "Create new wallet" if this is a first-time setup.
Select your backup type. Newer Trezor Safe models let you choose between a 12-word and a 20-word backup, while older models default to different lengths.
Write down each word shown on the device screen, in the exact order given.
The device will ask you to confirm specific words to check your backup is accurate.
Set a PIN using the scrambled on-screen keypad, then add your first cryptocurrency accounts in Suite.
Trezor's own documentation notes that a 20-word backup can later be upgraded to a multi-share backup, while a 12-word backup stays single-share only. That distinction matters if you're planning to split your backup across multiple locations later.
How to Secure Your Hardware Wallet Recovery Phrase
This single step causes more losses than any hack. Treat it with real care.
Never type the recovery phrase into a computer, phone, or website. It should only ever appear on the device screen.
Never photograph it or store it in cloud notes, email drafts, or messaging apps.
Write it on paper or a metal backup plate, then store copies in at least two separate physical locations.
Anyone who obtains this phrase can move your funds with no way for you to reverse it.
Both manufacturers state clearly that their support staff will never ask for your full recovery phrase. Treat any request for it as a scam attempt, regardless of who claims to be asking.
What Are the Risks of Using a Hardware Wallet?
A hardware wallet removes some risks but doesn't remove all of them.
Phishing sites: Fake setup pages that mimic official branding are common. Always type the manufacturer's domain manually rather than clicking a search ad or shared link.
Fake customer support: Scammers impersonate support agents on social media and ask for seed phrases directly.
Physical loss of the backup: Losing your written recovery phrase without a copy means permanent loss of access if the device breaks.
Blind-signing on DeFi apps: Approving a transaction without reading what the device screen actually says has cost users large sums.
Supply-chain tampering: Buying a device from an unverified secondhand seller carries a small but real risk that it was pre-configured maliciously.
None of these risks are unique to one brand. They apply to self-custody in general.
Ledger vs Trezor: Which Should You Choose?
The stronger signal for either brand is a consistent emphasis on verifying transaction details on the device screen itself, not just in the companion app.
The main concern for most first-time users isn't the device. It's the setup environment: a shared computer, a rushed unboxing, or skipping the backup verification step.
The data suggests that losses tied to hardware wallets usually trace back to phishing pages or leaked recovery phrases, not to a flaw in the device's secure chip.
The biggest unknown for any individual user is discipline over time. A correctly set-up wallet still depends on the owner never sharing the recovery phrase and never approving a transaction they haven't actually read.
Readers should verify the current firmware version, confirm they downloaded the companion app from the official domain, and double check the receiving address on the device screen before every transfer.
Is a Hardware Wallet Worth It?
For anyone holding more than a small, spendable amount of crypto on an exchange, moving funds to self-custody through a hardware wallet is one of the more commonly recommended security practices in the space.
That said, a hardware wallet is not a complete safety net on its own. It only protects what the owner sets up and stores correctly.
Conclusion
Setting up a hardware wallet with Ledger or Trezor follows a similar core process: buy from an official source, download the real companion app, generate and safely record a recovery phrase, then test with a small transaction first.
What stands out across both brands is how much of the actual security depends on the owner's habits, not just the hardware itself. What remains uncertain is how any individual user will handle long-term storage of their backup and ongoing vigilance against phishing.
Before making any final decision, readers should compare current models directly on each manufacturer's official page and confirm pricing, since figures can change.
Disclaimer
This article is for informational purposes only and does not constitute financial or investment advice. Hardware wallet setup carries technical and security responsibilities; readers should conduct their own research and verify all details directly through official sources before acting.
Also read: