Atlas System Beginner's Guide: Connect Your Wallet & Verify on BscScan

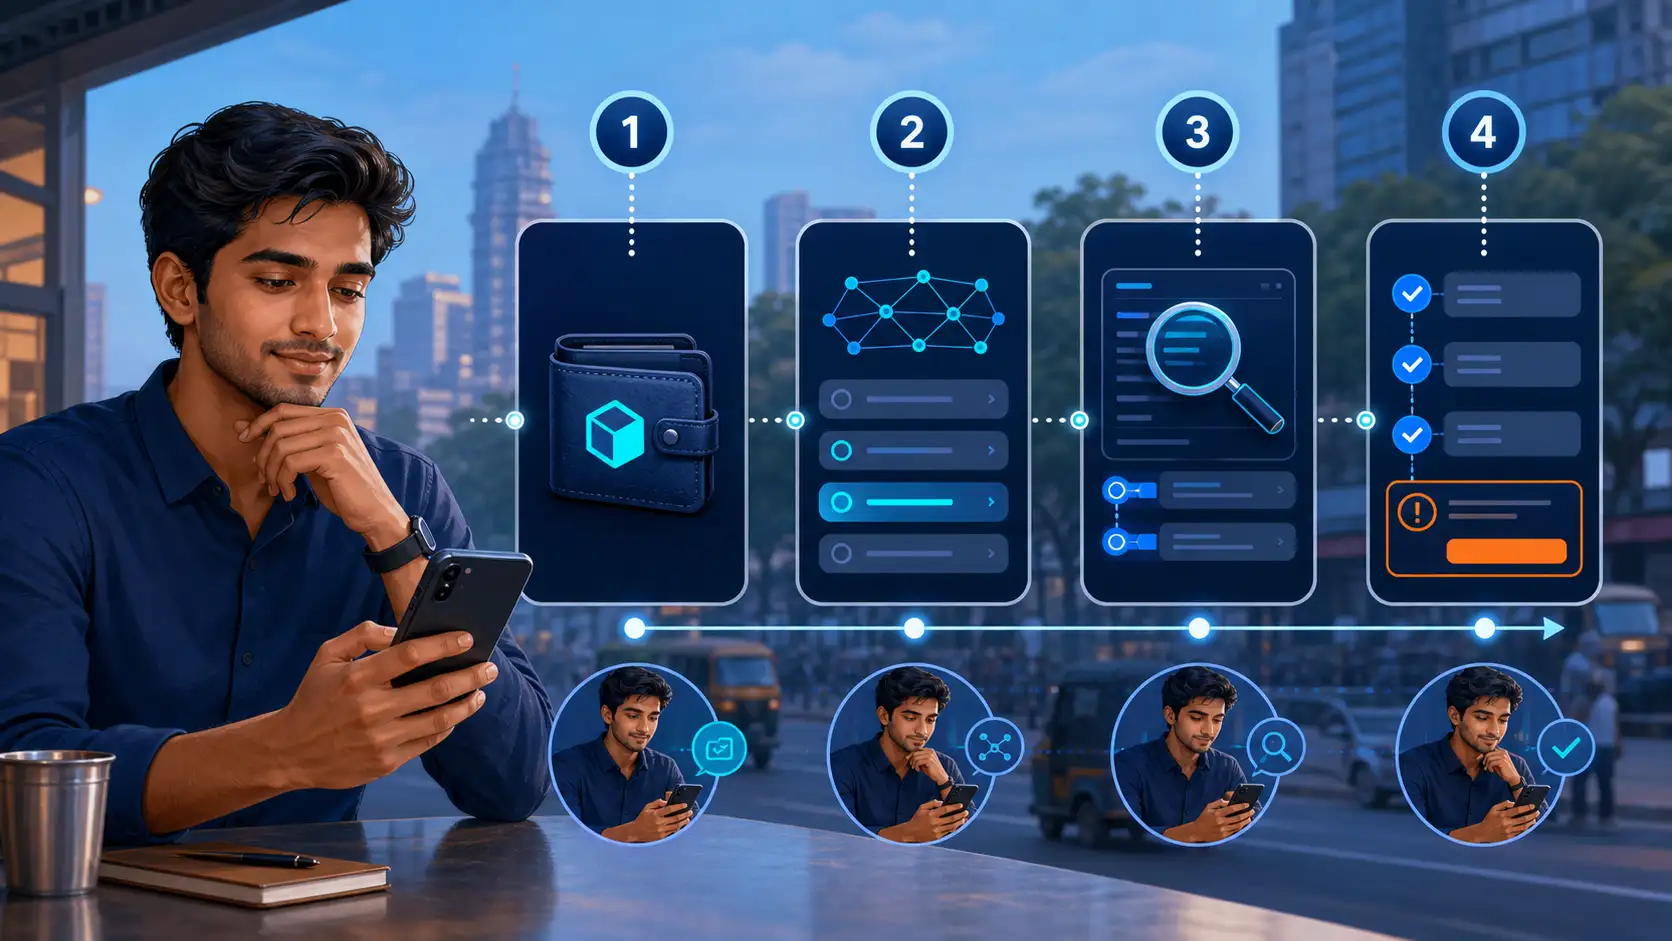
The safest first Web3 transaction is a slow one. A new user should know what the wallet is asking, why a network fee is required and where to check the result. Atlas System uses a self-custody wallet flow for Smart Cycle on BNB Smart Chain. The following guide focuses on verification rather than speed.
1. Open the official Atlas website
Avoid links received from unknown direct messages or copied from unofficial groups. Type or bookmark the official Atlas domain and use its published contract registry when checking addresses. A familiar-looking page is not enough; phishing sites often copy visual design.
2. Prepare a compatible wallet
The wallet should support BNB Smart Chain and the required BEP-20 asset. Keep a small amount of BNB for network fees. Atlas should never ask for the seed phrase or private key. If any website or person requests them, stop.
Unlocking the wallet and connecting it to a site allows the interface to view the public address and propose actions. It does not by itself send funds.
3. Confirm the network
Before choosing a Smart Cycle, check that the wallet is on BNB Smart Chain. Similar token symbols can exist on several networks, but assets on the wrong network are not automatically interchangeable.
4. Review the Smart Cycle conditions
The interface should show the support amount, term and calculated Delta scenario. Smart Cycle is a mutual-financing mechanism, not a bank deposit. Atlas states that the return of support and any additional Delta is not guaranteed. A later Claim depends on contract rules, contract state and liquidity pools.
Do not proceed if the conditions are unclear or if the amount would create financial hardship.
5. Read the wallet confirmation
The wallet is the final approval screen. Compare the contract address with the official registry. Check the token, amount and expected network fee. If an unlimited token approval is requested, understand what it permits before confirming.
6. Save the transaction hash
After submission, the wallet or interface provides a transaction hash. Open it on BscScan. Check whether the status is success, pending or failed. Review the from and to addresses and the token transfers section.
A successful status proves that the network executed that transaction. It does not promise a future Claim.
7. Verify Claim as a separate action
When cycle conditions are met, Claim requires a new contract interaction. Review it with the same care as the original transaction. The contract evaluates current conditions and liquidity at execution time.
If a transaction fails, do not keep signing identical prompts. Check the BscScan error information, wallet balance for gas, network and official support documentation.
Web3 puts control in the user's wallet, but control is meaningful only when it is paired with verification. Atlas's on-chain structure gives users the tools to check each completed step. The user's task is to use those tools before, during and after every confirmation.
Sources